Removable Liners for Chest Freezers: A Practical Guide
A Full Transparency Note
I design and sell custom cold plunge liners. That means I have a bias, and I want to be upfront about that.
But here’s what I also have: eight years of hands-on experience, a private Facebook community of 56,000+ members whose real-world results I’ve been tracking since 2019, and a personal history of trying nearly every waterproofing option before I built my own. I’ve talked to manufacturers, tested materials, worked through prototypes, and watched thousands of builds succeed and fail.
My priority has always been helping people make informed choices, not just selling something. The people who choose my liners are usually thinking long-term. They want durability, quality materials, and an easier path to a cold plunge practice that actually sticks. I’m grateful to serve this community and to support my family through this work, and I take that responsibility seriously.
Read this article with that context in mind. I’ll tell you what works, what doesn’t, and where my liner fits honestly into the picture.
What works, what fails, and how to avoid costly mistakes.
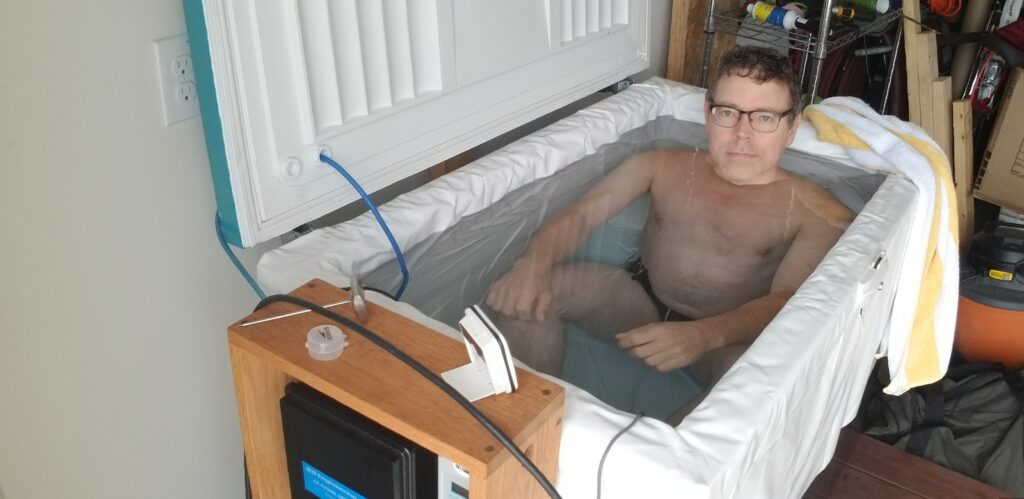
When I built my first DIY chest freezer cold plunge in 2017, I quickly realized that if you don’t protect the seams and interior surfaces, you can damage or even destroy your freezer. Water seeps into seams. Condensation forms where you can’t see it. Rust creeps in quietly. And before long, your budget cold plunge has turned into a very expensive mistake.
That’s why sealing the seams and installing a quality liner aren’t optional if you want your setup to last. A liner is not a nice-to-have. It’s insurance. Done well, it protects your freezer, your water, and your practice. Done poorly, it can actually speed up the damage.
Liners generally fall into two categories: permanent options like Pond Shield or Line-X, and removable options. For a full overview of all four types including permanent options, see my article here:
4 Types of Chest Freezer Liners
This article focuses on removable liners specifically, and makes the case- based on eight years of data- for why a professionally made custom liner is the strongest long-term option for most people.
The Four Types of Removable Liners
1. Pond Liners
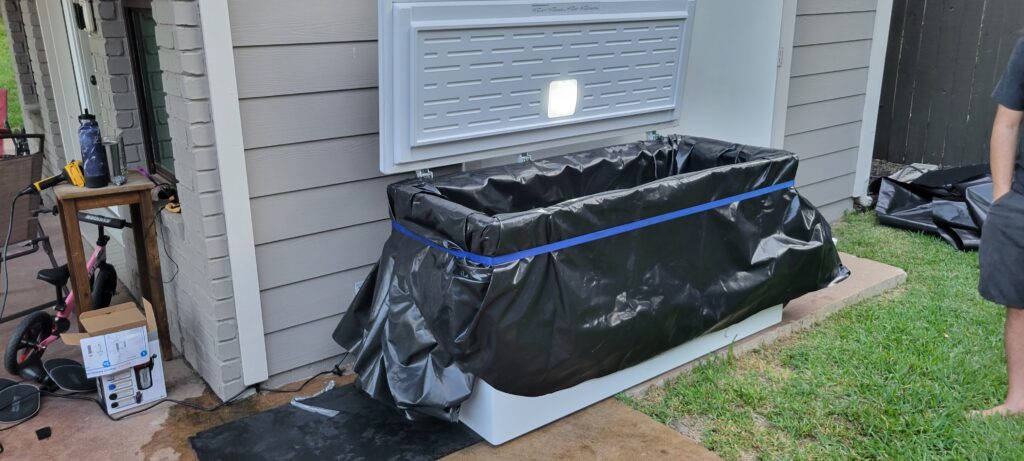
Pond liners were the first budget option people tried, and they’re still the a common starting point because the upfront cost is hard to argue with. A decent pond liner runs $60 to $120 and installs in less than two hours- less if you’re really good at origami .
The problem is what happens after that.
Based on what I’ve seen reported across my community over eight years, most pond liners start developing micro-tears and pinhole leaks within four to six months. Because they’re bulky and not form-fitted, they can also prevent the freezer lid from sealing properly, which affects cooling efficiency. How you fold them makes a real difference. I put together a free PDF in the Files section of my Facebook group showing the best folding method- if you’re going this route, grab that before you install.
Here’s the math that most people don’t run upfront: three or four replacement cycles over two to three years puts you at $240 to $480 spent on pond liners alone. Your freezer has been sitting with a failing liner behind it for most of that time, which means hidden condensation, hidden corrosion, and a shortened freezer lifespan. That’s not a budget option. That’s a delayed expense with compounding risk.
If you need a short-term solution right now, a pond liner can work. Just go in with realistic expectations and inspect it frequently.
2. DIY Form-Fitted Liners
Some people try cutting and seaming their own PVC, EPDM, or TPO sheets to create a form-fitted liner. I’ve seen a number of these firsthand. The results have not been encouraging. Most didn’t fit well, and all of them eventually leaked – some within a few weeks.
The seam is always where these fail. There are three main ways people try to join them:
- Tape or adhesives
This is the most common attempt because it looks affordable and simple. The problem is that adhesives rely on chemical bonds that almost always fail under sustained cold water submersion. Cold temperatures, sanitation chemicals, and time break them down. Some adhesives become brittle in the cold. Others off-gas or leach into the water. And it only takes a single bubble or speck of dust under the seam to create a failure point. Most taped or glued liners fail within weeks or months. - Heat welding.
Heat welding can create a strong seam when done correcgtly. Roofers use it to join membranes. But there’s a critical catch: consistency of temperature, pressure, and speed is everything. A small mistake leaves a cold weld that looks fine and leaks anyway. More importantly, heat-welded seams used in roofing and drainage applications are designed for water that runs off quickly. They are not designed for constant long-term submersion in very cold water. Even a technically good weld may eventually fail in this application.
Construction side note: I’ve lost track of the number of people I’ve talked with who hav ea background in construction and want to use a product they are familiar with: sealants, caulks, and adhesives meant for roofs, gutters, or shower pans. They are all meant for places where water quickly runs off or into a drain. They are not designed to hold water long-term under constant submersion, much less in very cold water. Further, they are typically filled with toxic chemcials that are not suitable for humans soaking in the water. - RF welding.
RF stands for Radio Freqeuncy. This is the gold standard in fluid containment. It uses electromagnetic energy to bond materials at the molecular level, creating seams as strong- or stronger than- the material itself. It’s why RF welding is used in medical fluid bags, inflatable boats, and high-end pool liners. The downside is that it only works on specific plastics like PVC, and the equipment is highly specialized. Even entry-level RF welders start around $5,000. They have industrial electrical requirements and special training to operate. As a note: the machine used to make my custom liners costs $50,000. This is not a DIY tool.
Four Steps to a DIY Form-Fitted Liner
OOn paper, making your own liner looks straightforward. In practice, each step is harder than it sounds:
1. Choosing the right material. It needs to be thick enough to be durable, flexible enough to install and remove, and rated for the right safety standard. For cold plunges, pool and spa grade is the minimum. Potable water rated or aquatic life safe are the higher tiers.
2. Designing the liner. Fewer seams means fewer failure points. The liner needs to go up and over the top of the freezer wall to prevent water from getting trapped behind it. Gravity is your friend- adhesives, Velcro, and rail systems have a poor long-term track record in this application.
3. Measuring the freezer. Chest freezers are not precision boxes. I’ve seen differences of up to 1.5 inches in the same model. Add water weight, the movement of someone getting in and out, and the stress from equipment sitting on the liner, and you need a liner that’s loose enough to install and flex, but fitted enough to minimize deep folds that can harbor bacteria and resist cleaning.
4. Seaming. Dry-fit everything before joining. Tape and adhesives will almost always fail. Heat welding requires precision and the right equipment. RF welding requires a $5,000 to $50,000 machine. Each path is more complicated than it looks.
This is why nearly every DIY attempt I’ve seen has ended up leaking.
3. Stock Form-Fitted Liners
Recently, a handful of companies have started offering liners made to fit specific freezer models, sold off the shelf. They cost more than a pond liner but less than a custom-made liner, and at first glance they look like an attractive middle ground.
I have concerns.
- The material is typically not pool or spa grade, which raises questions about what may be leaching into the water you’re immersing yourself in.
- The material tends to be thinner, making it more susceptible to damage.
- Critically, the design usually stops below the freezer rim rather than going up and over it. That means condensation and water can get trapped between the liner and the freezer wall, where you can’t see it and can’t address it until the damage is already done.
- They also have no meaningful long-term track record yet. Early reviews are mixed, with some customers reporting leaks almost immediately after installation.
- Some are installed with acrylic bars on the top trim. This bar requires you to adjust the lid and stick it in place with an adhesive. Not only does this make it difficult to remove for cleaning, that piece of actylic can act as a thermal bridge, allowing warm outside air to get into your chest freezer. This makes your compressor work harder, reducing its lifespan, and can also allow condensation to form betweent the chest freezer and liner, damaging the interior walls or floow – the very thing the liner is supposed to prevent.
I understand the appeal. But the money spent, the wasted time, the frustration, and the potential damage to your chest freezer add up to a high cost for a product that hasn’t earned the trust yet.
4. Custom Liners – Years of Data Since 2018
This is where the story gets personal- and where the data gets interesting.
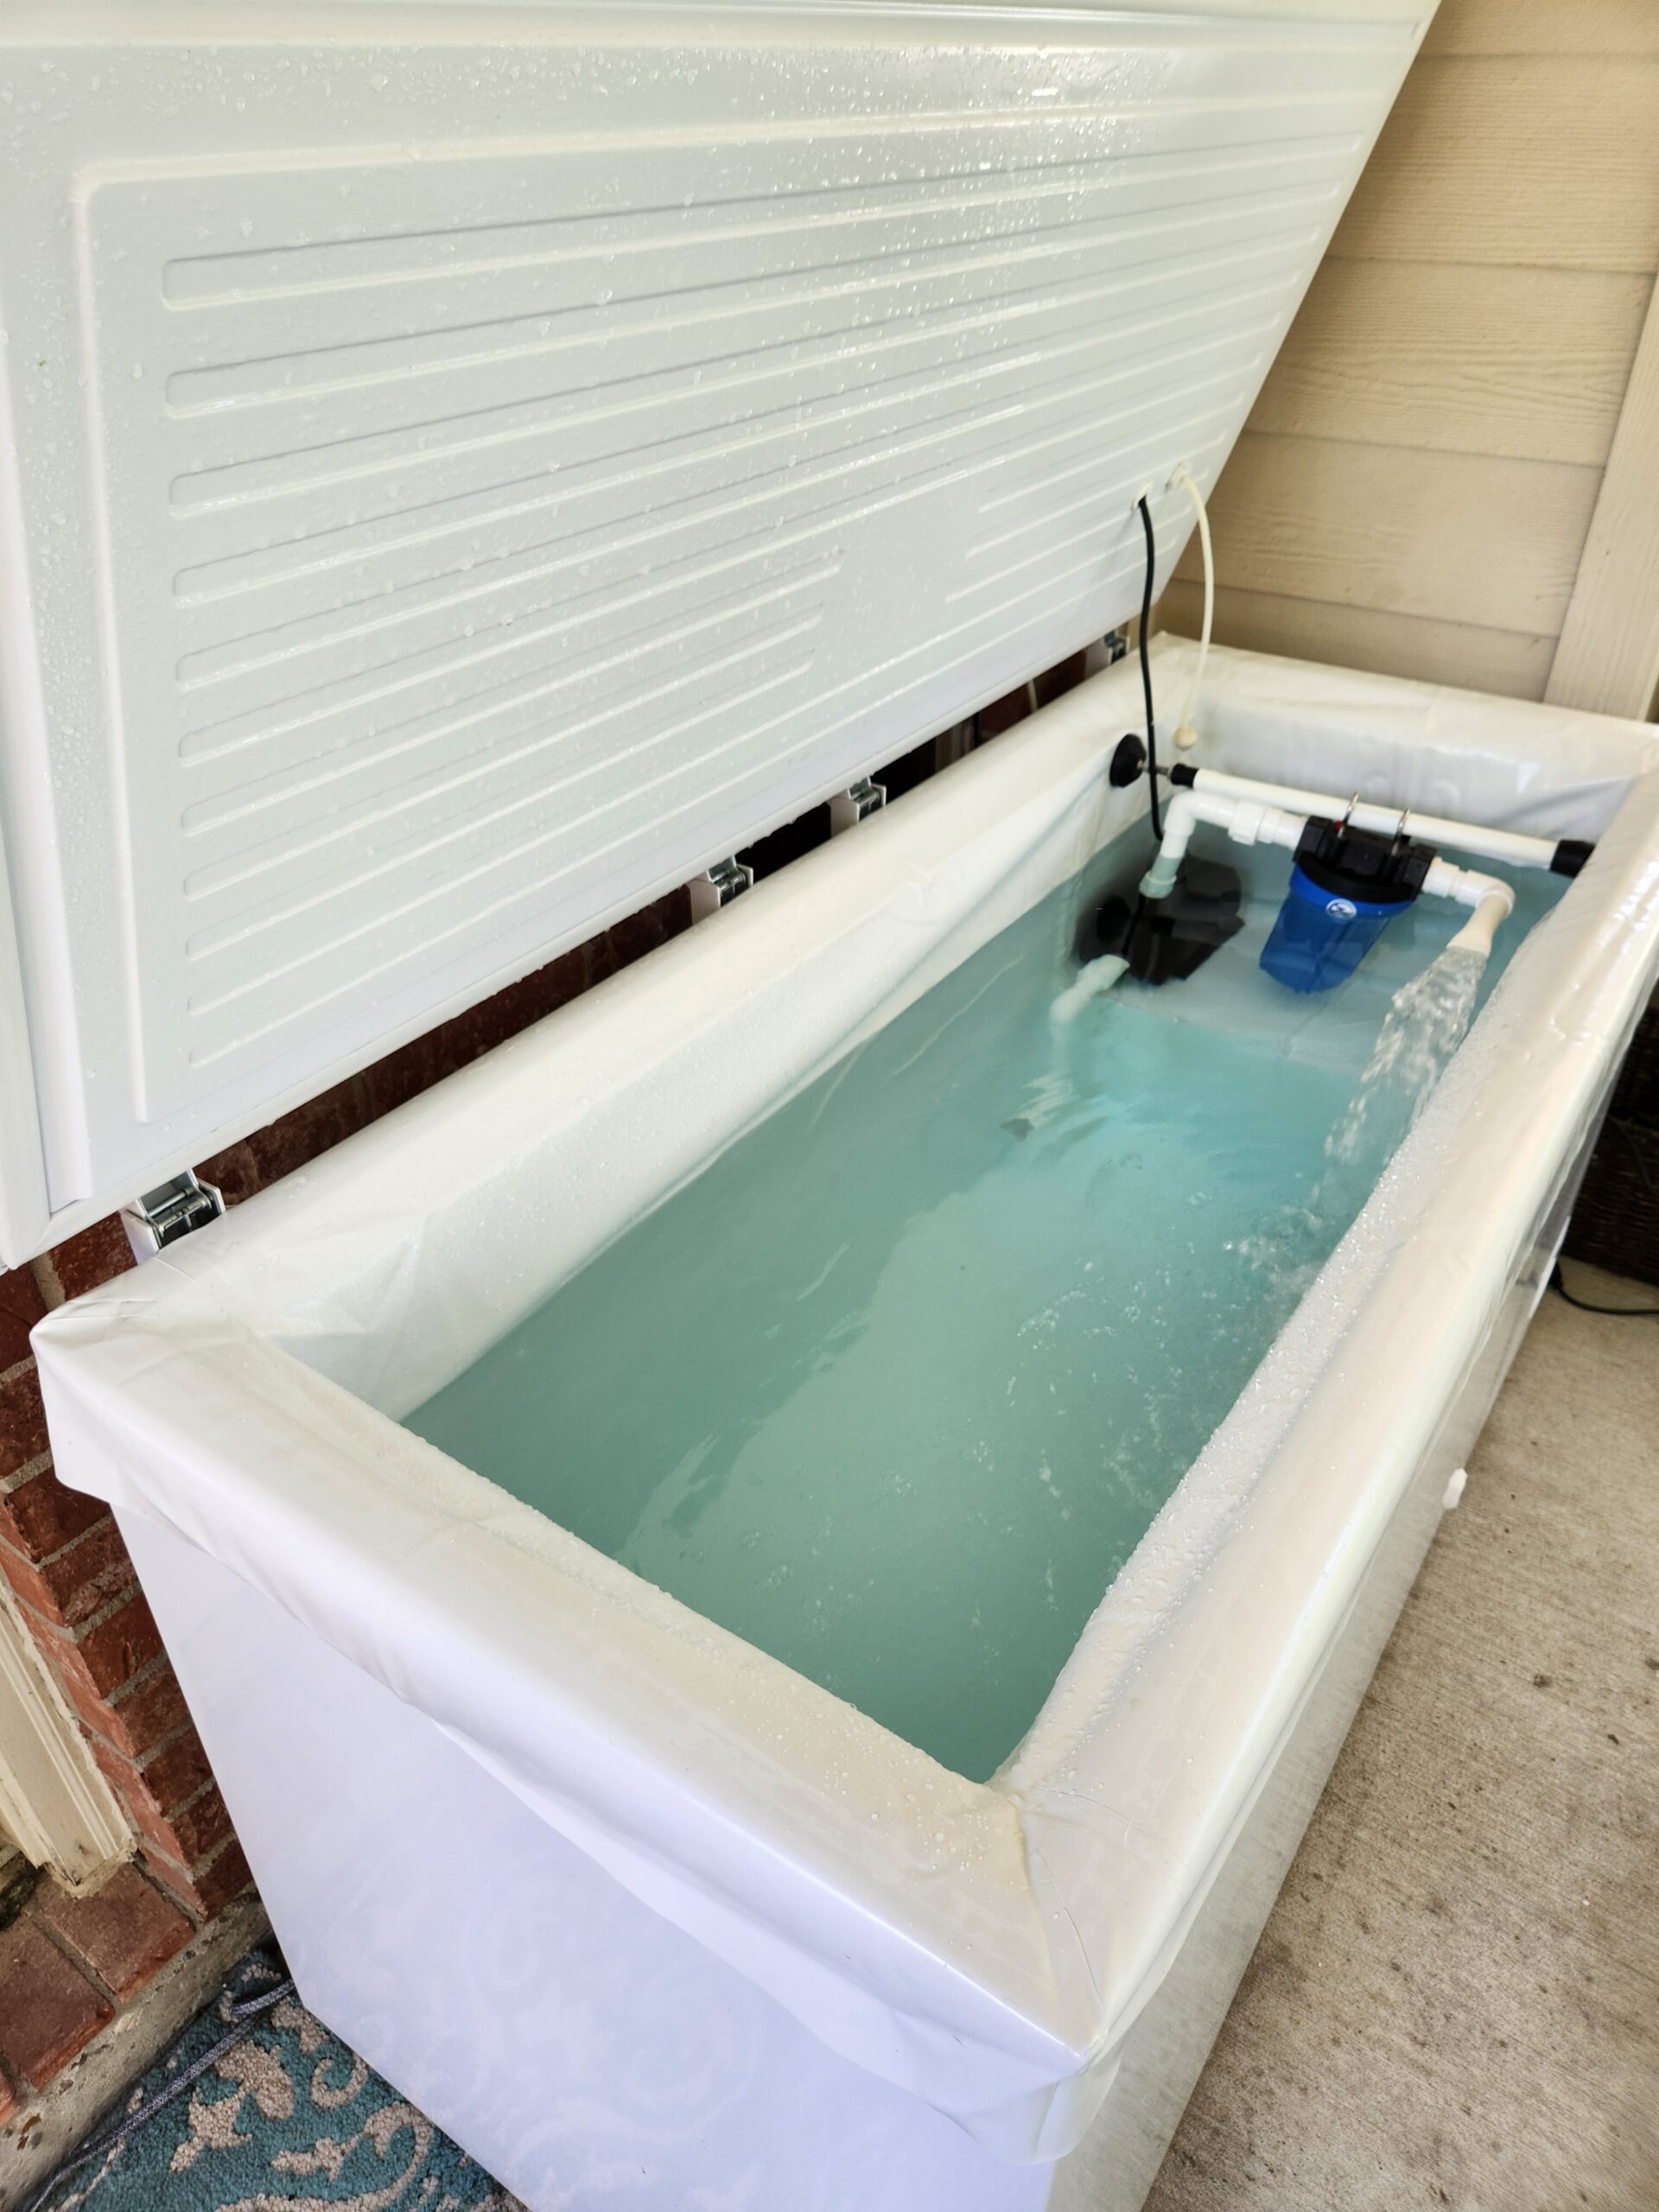
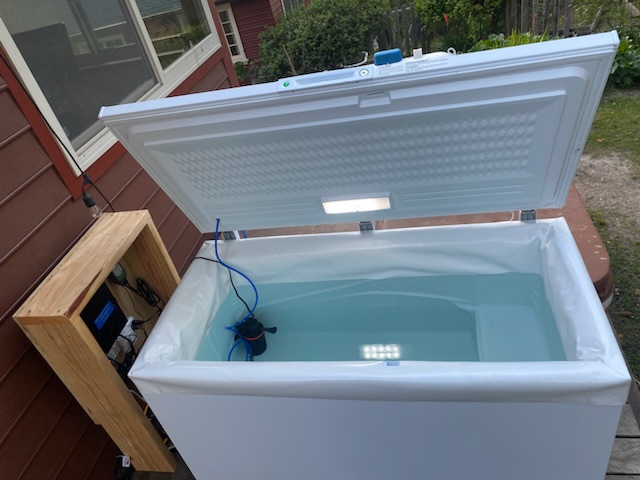
In 2019, after running into problems with pond liners, toxic off-gassing materials, and coatings that my ozone generator destroyed, I designed my own removable liner. I found a manufacturer willing to build a prototype. That liner went into daily use in my own chest freezer and stayed there for six years, until the freezer itself was damaged in a move. The liner was still intact on the last day. It could be dropped into another Whirlpool 14.8 cu ft freezer right now.
That experience showed me what was possible with the right materials, the right design, and the right construction method.
In 2021, I began offering custom liners to others. Here’s what eight years of data actually looks like.
The production record:
- Over 200 customers worldwide have purchased custom liners.
- Two had warranty issues. Both were caused by human error during installation – a reminder that even experienced builders can make mistakes. Both were repaired at no charge.
- Three other problems came from accidental damage, such as a heavy pump being dropped onto a drained liner. Two were professionally repaired by our production team for a small shop charge and the customer covering the shipping. One was repaired with stand up paddle board patch kit.
That’s five total issues out of 200+ liners. All of them human errors. There has not ben a single reported product failure.
The longevity data: As of 2025, about 100 liners have been installed and in active use for 3–4 years with no issues. That kind of track record is unheard of with pond liners or stock liners, which often need replacing within months.
My original prototype liner ran for six years in daily use before the freezer was lost. Not the liner. The freezer, which was damaged by movers.
Commercial use: My custom liners have also been tested in conditions that go well beyond recreational cold plunging.
One customer uses a custom liner to hold live lobsters for his commercial seafood business. This is not a hobbyist application. His livelihood depends on the water staying clean, cold, and contained. He chose this liner for that job.
Another customer used a custom liner for cold water stress testing of agricultural seed. Aluminum cages loaded with seed were repeatedly lowered into and raised out of the freezer- far more mechanical stress than any cold plunge will ever generate. The repeated impact eventually punctured those liners. The customer upgraded to a thicker material, which has held up well since.
These aren’t cold plunge testimonials. They’re evidence of what the material and construction can handle when pushed beyond their intended use.
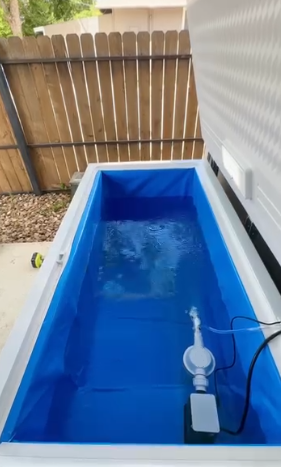
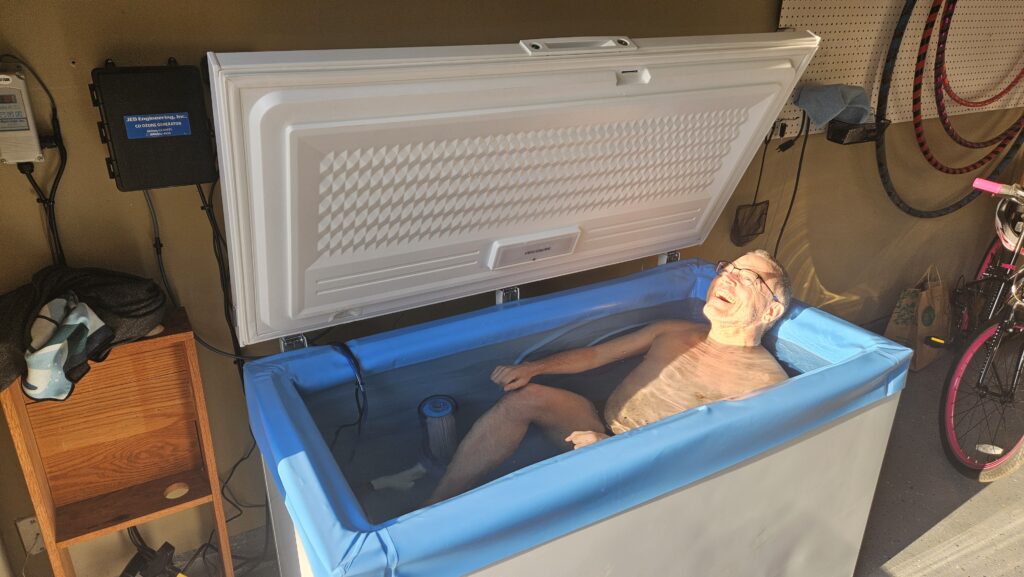
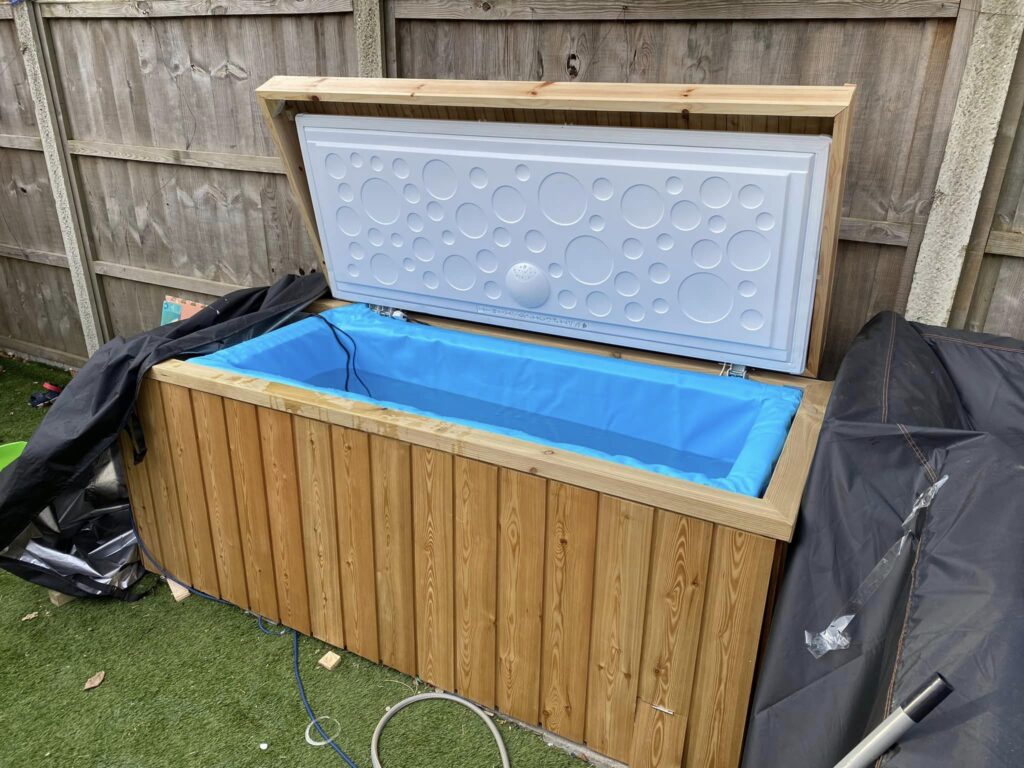
What’s new: In January 2025, I started a new DIY build with a Frigidaire garage-ready freezer and had a liner made from an even thicker material in a custom shade of blue. It looks great and is holding up exceptionally well. That thicker material option will be available for purchase soon.
Pool Company Liners
Another option is to hire a pool company to fabricate a custom liner. I know of a few people who have gone this route. The results were generally good and the liners held up.
The practical challenges are significant though:
- Pool companies work at swimming pool scale. A chest freezer is a tiny, awkward job that doesn’t fit their normal workflow. Many won’t take it on.
- Those who do may price it higher than you’d expect, and the timeline can be unpredictable.
- Most pool company installations also use a rail system that attaches to the freezer body with screws. If you’ve read my sealing article, you know the risk: drilling into a chest freezer in the wrong place can puncture a coolant line, and that’s a dead freezer.
This is a legitimate option if you can find the right shop at the right price. But it’s not practical for most people. If you pursue it, make sure the company understands the specific requirements of a cold plunge liner, and get the warranty in writing.
My Journey with Manufacturers
Since 2019, I’ve had conversations with over a dozen US manufacturers about making custom chest freezer liners. I deliberately work with US manufacturers only, because overseas production creates quality control and logistics problems I’m not willing to pass on to customers.
Out of all those conversations, three looked promising:
- The first walked away after a detailed phone call and reviewing my full specifications. No explanation. Just gone.
- The second seemed like a real possibility. The first prototype didn’t fit. What followed was nearly three months of emails and phone calls before they sent a replacement. Despite all the planning and discussion, that one didn’t fit either. After two more months of back-and-forth, they came back with a revised proposal that was six times higher than their original price estimate. That was the end of that conversation.
- The third is the company that made my very first prototype in 2019 and got it right on the first attempt. I still work with them today. They have more than 20 years of experience in professional PVC fabrication. They don’t work directly with the public for chest freezer liners- my detailed design process, thorough measurement instructions, and double-check system eliminate nearly all of the fit issues that would make that difficult. It’s been a strong partnership, and I trust them completely.
Building that kind of trust and working relationship takes years. It’s one of the things you get when you order a custom liner that you can’t replicate by trying to DIY the process.
Price vs Cost
IIt’s easy to look at the upfront price of a liner and think you’re making the smart financial decision. A pond liner at $60 to $120 feels like a bargain compared to a custom liner at $599 to $899.
But price and cost are different things.
When a pond liner fails- and based on everything I’ve seen, it’s when, not if – you’re not just out the cost of the liner. You’re also dealing with wasted water and chemicals, potential damage to the freezer interior, lost time tracking down and fixing the problem, and the possibility of hidden corrosion that’s been building up behind the liner the whole time.
Run the numbers over three years. Two or three pond liner replacements puts you at $180 to $360 spent, plus whatever damage has accumulated in the freezer. A stock liner that fails in year one and damages the freezer costs even more. A Pond Shield application that goes wrong after two full days of prep work is an expensive education.
A custom liner costs more on day one. Over three to five years, it’s often the least expensive option when you factor in what you’re not replacing, not repairing, and not dealing with.
If you only need a short-term solution, a pond liner is fine. Go in knowing what you’re getting. But if you’re building a cold plunge practice you intend to keep, the math points in a different direction.n.
How to Choose Wisely
If you’re planning to cold plunge for years, your liner is one of the most important decisions in your entire build. Here are the questions I’d ask before buying any liner:
1. Is the material rated for safe water use? Look for potable water rated, pool and spa grade, or safe for aquatic life. If the manufacturer can’t tell you which standard the material meets, that’s your answer.
2. Does the design go over the freezer rim? A liner that stops below the rim can trap condensation between the liner and the freezer wall. That damage is invisible until it’s serious. The liner should overhang the top edge of the freezer.
3. Can the liner be repaired if damaged? Accidents happen. A liner made from pool and spa grade PVC can be repaired with a standard PVC patch kit. Know what you’re working with before something goes wrong.
4. What is the warranty and the real-world track record? Not the marketing claims. The actual track record. How long have people been using it? What happens when something goes wrong? Who stands behind it?
5. Who is making it, and can you trust them? This matters more than most people realize. The materials, the seam construction, the fit design, and the person you’re dealing with when you have a question- all of it is part of what you’re buying.
Final Thoughts
I’ve watched this space evolve from the days when a folded pond liner was the only real option. Best practices have developed slowly, built from trial and error, honest mistakes, and feedback from tens of thousands of people in this community over nearly a decade.
That’s why I share all of this openly. Not to steer you toward one product, but to give you the information you need to make a decision you won’t regret two years from now.
If you’ve read this far and you’re thinking a custom liner might be the right call for your build, you can find full details, sizing, and ordering information here:
https://chestfreezercoldplunge.com/product/custom-liner
If you’re not there yet, that’s fine too. Start with the 4 Types of Chest Freezer Liners article, read through the options, and make the decision that fits your situation and your budget.
Either way, I’m glad you’re here. The community exists to help you get this right.
Your support- whether through purchasing a liner, buying the guide, or simply being part of this community- makes it possible for me to keep testing, teaching, and showing up for the people who are trying to figure this out.
The water’s cold. Get in.
John Richter Chest Freezer Cold Plunge | Est. 2017 | Buda, Texas